Showing posts with label Art teacher. Show all posts

Thursday, May 19, 2016

Katt's AP 2D Studio Art


AP has been a very interesting learning experience. I learned more about myself as an artist and I feel I have improved a lot over the year. Not only in terms of my abilities but also as a person. I still am a perfectionist and a bit of a procrastinator, but I have become more accepting of my mistakes and instead of giving up right away, I have gotten better at trying to solve the problem and incorporate it into the piece. All in all I think AP was a very fun experience and one that taught me a lot and strengthened my friendships with my fellow APers.


My concentration is based on stories. These stories were passed down orally until they were written down after being told and retold for generations. These storytellers would often edit the endings to make them less violent for children. But take Grimm’s fairy tales for example, they didn’t censor themselves; they left the brutal endings as was intended. Not everything has to have a happy ending. I took the child-friendly stories and twisted them back to include the darker themes.


When I was younger I loved to read fairytales and myths. The vivid imagery they brought to mind has continued to inspire my art as I got older. I wanted to explore this passion while taking it in a new direction. I intended to give a darker take on my favorite stories while exploring them through a variety of mediums. Images 2-4 were inspired by watercolor illustrations often found in children’s books. They have a child-like feel to them. As I continued my exploration my lines became harsher and more defined as I explored colored pencil as a medium in images 5-7. Skeletons are also a more prominent symbol from image 7 on. I felt they added a sinister element, contrasting with the rich colors of the acrylic paint. I feel image 8 especially is an exceptional example of this. Several stories are repeated throughout my concentration as I delved into different themes. Image 1 shows Rapunzel turning into her tower from waiting so long, while image 12 shows her having died during the wait. By the end of my investigation I’m pleased with the variety of poses, colors, and mediums I’ve included. I chose each subject matter and composition carefully based on what I intended to convey to the viewer.



Wednesday, April 1, 2015

Low Budget Lighting Effects with Big Results

With school budgets decreasing daily and art curriculum expanding to incorporate more of the media arts we find ourselves in a constant budgeting dilemma.  I question every purchase..."Do we really need it?...or can we get by with something else?" Teaching digital photography can be taxing on the expense account of an Art Department. For those of you who teach digital photography or even take photos on a regular basis of student work will understand how incredibly important it is to understand basic lighting effects and have the opportunity to take your camera off of auto. So important that I couldn't justify ignoring or avoiding it altogether because of cost. With that being said, I am proud as pie when I find DIY ways to solve expensive equipment needs. With the help of Pinterest, informative websites, and creative students I've developed an inexpensive yet effective way for students to experience the indoor photo booth shoot.

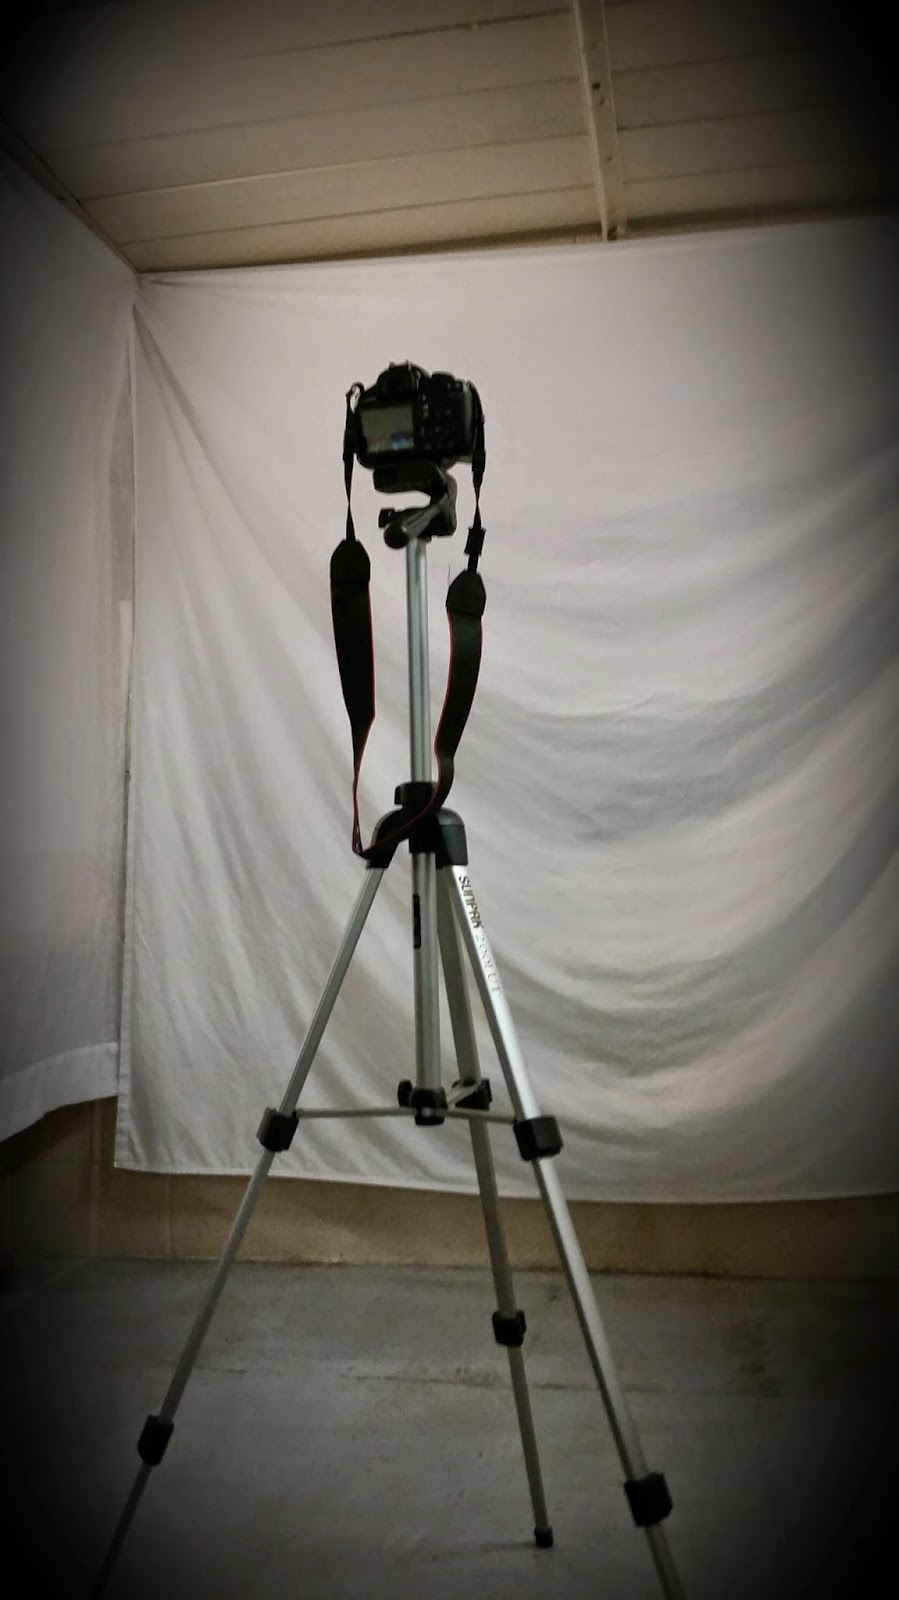
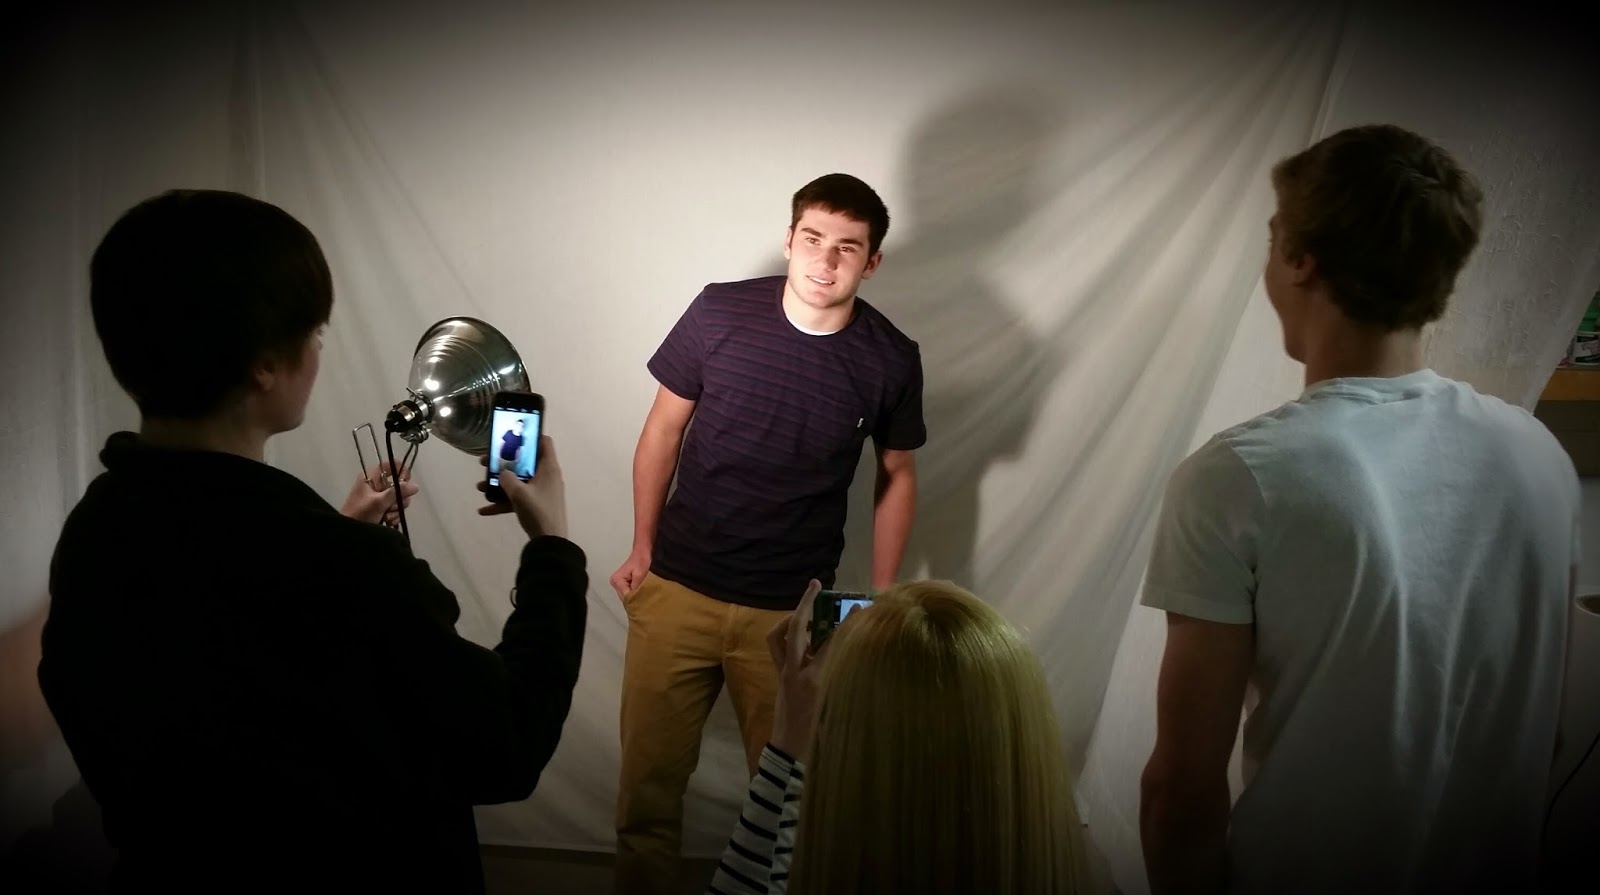
For an indoor photo booth shoot you need a backdrop, lighting, reflectors, a tripod, camera, something to defuse the light and a subject.
I spend the money on a nicer camera/tripod so the students can control the settings and understand how to use the manual settings to capture just the right effect. I hang the backdrop up with bulldog clips, vice clamps, and/or velcro depending on the area.
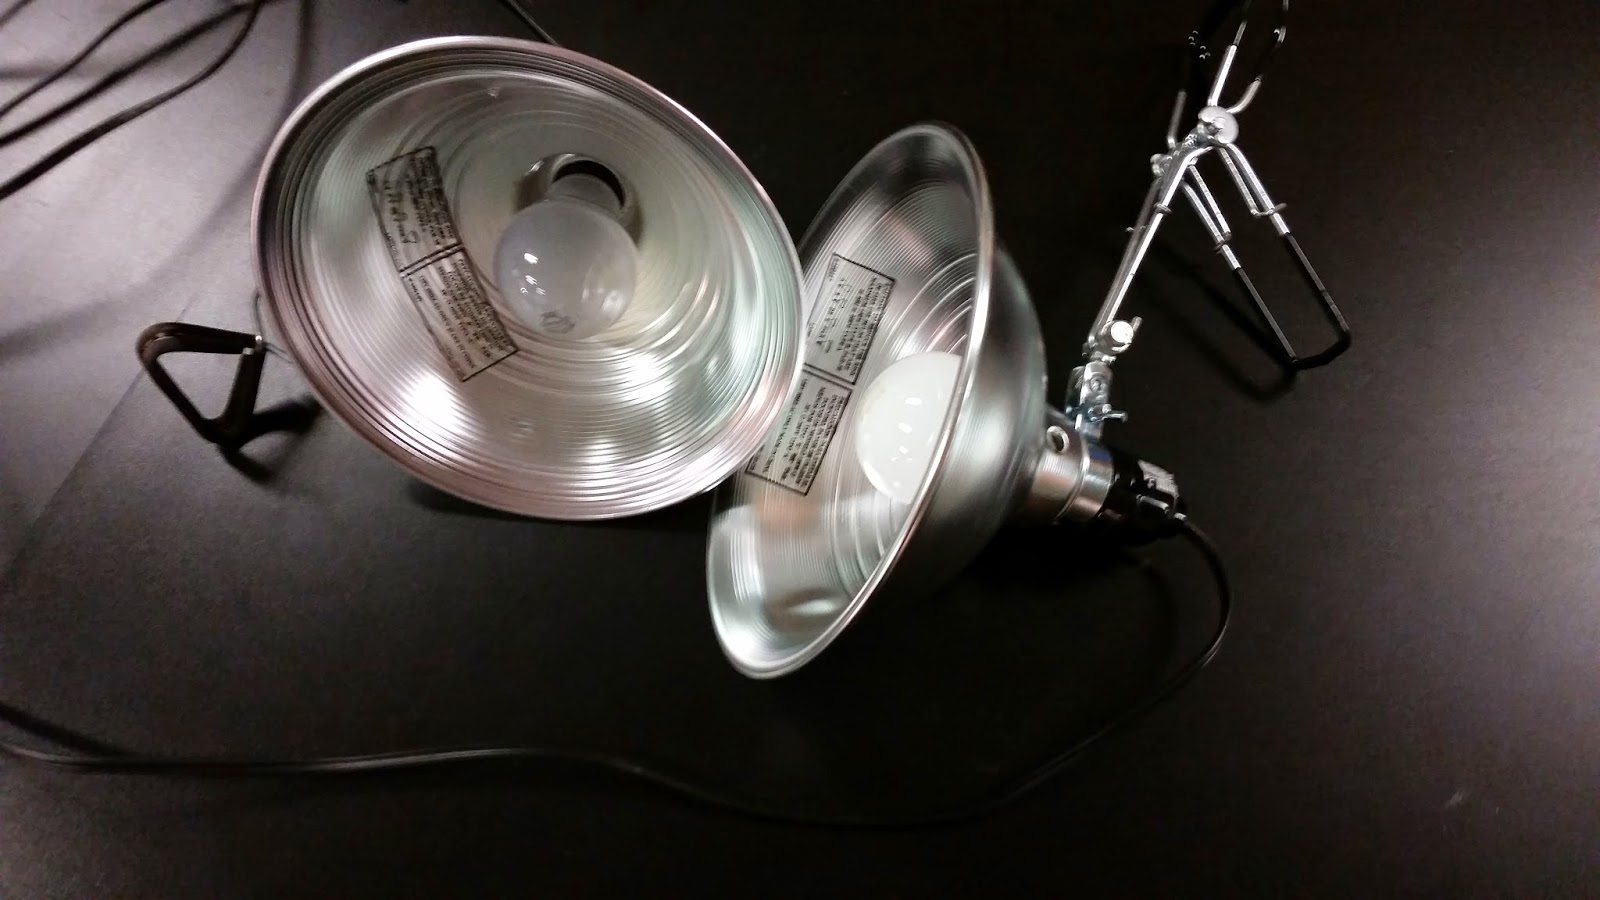
Inexpensive clamp lights work for basic lighting.
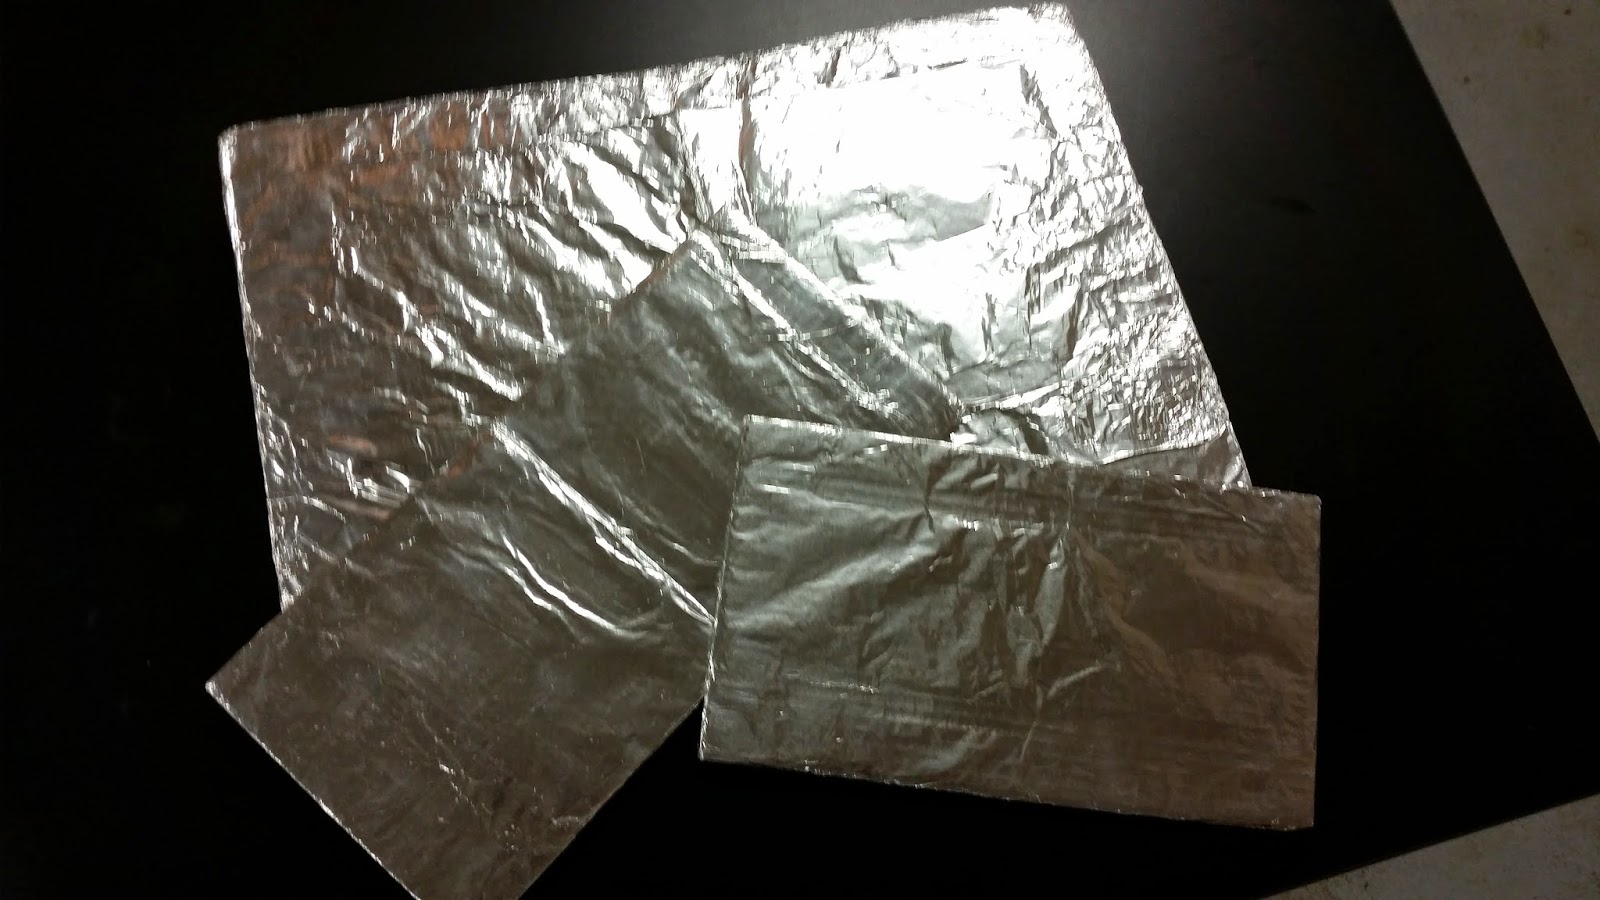
Cardboard covered with foil works for reflectors
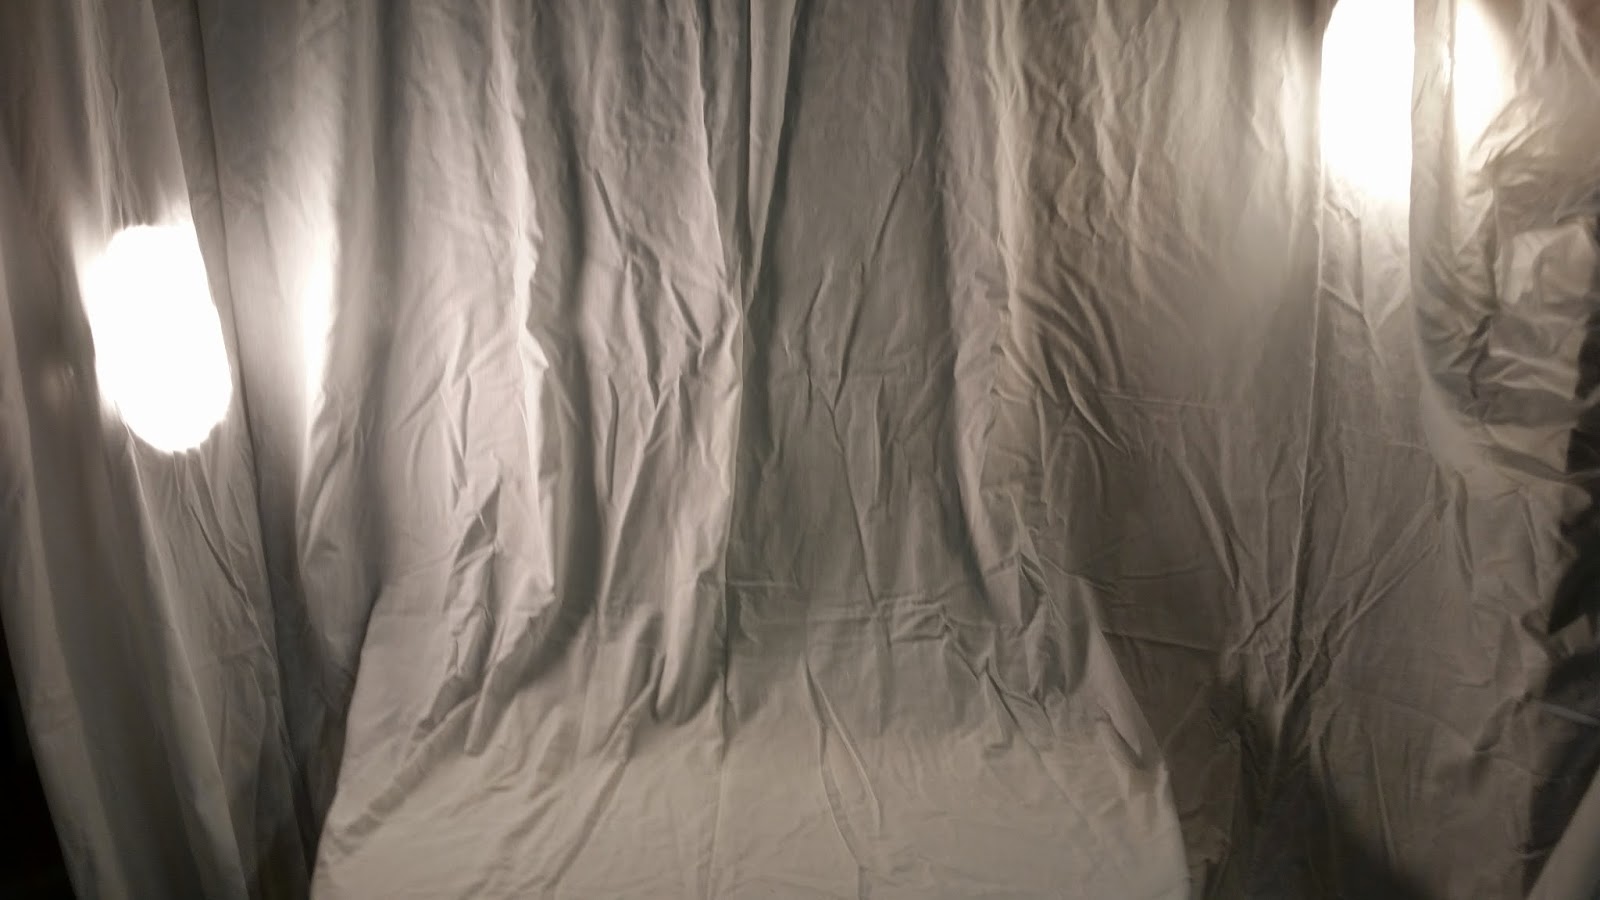
Sheets, curtains, or an inexpensive cotton fabric are great for back drops.  Place the lights on either side and/or above behind the fabric to defuse the harsh light.  You can also place a small piece of fabric over the light itself to defuse the light.  Just be careful it might get hot after a little while.
A subject to photograph is usually pretty easy to find.
You can also create a smaller photo booth for objects or art projects you wish to photograph. We have created box type photo booths out of foam core board and tissue paper or fabric. Even a cardboard box painted white with sections cut out of the sides and top covered with fabric works great. Here is a great post on DIY Photo Box on Ninth & Bird with directions that are easy to understand.  


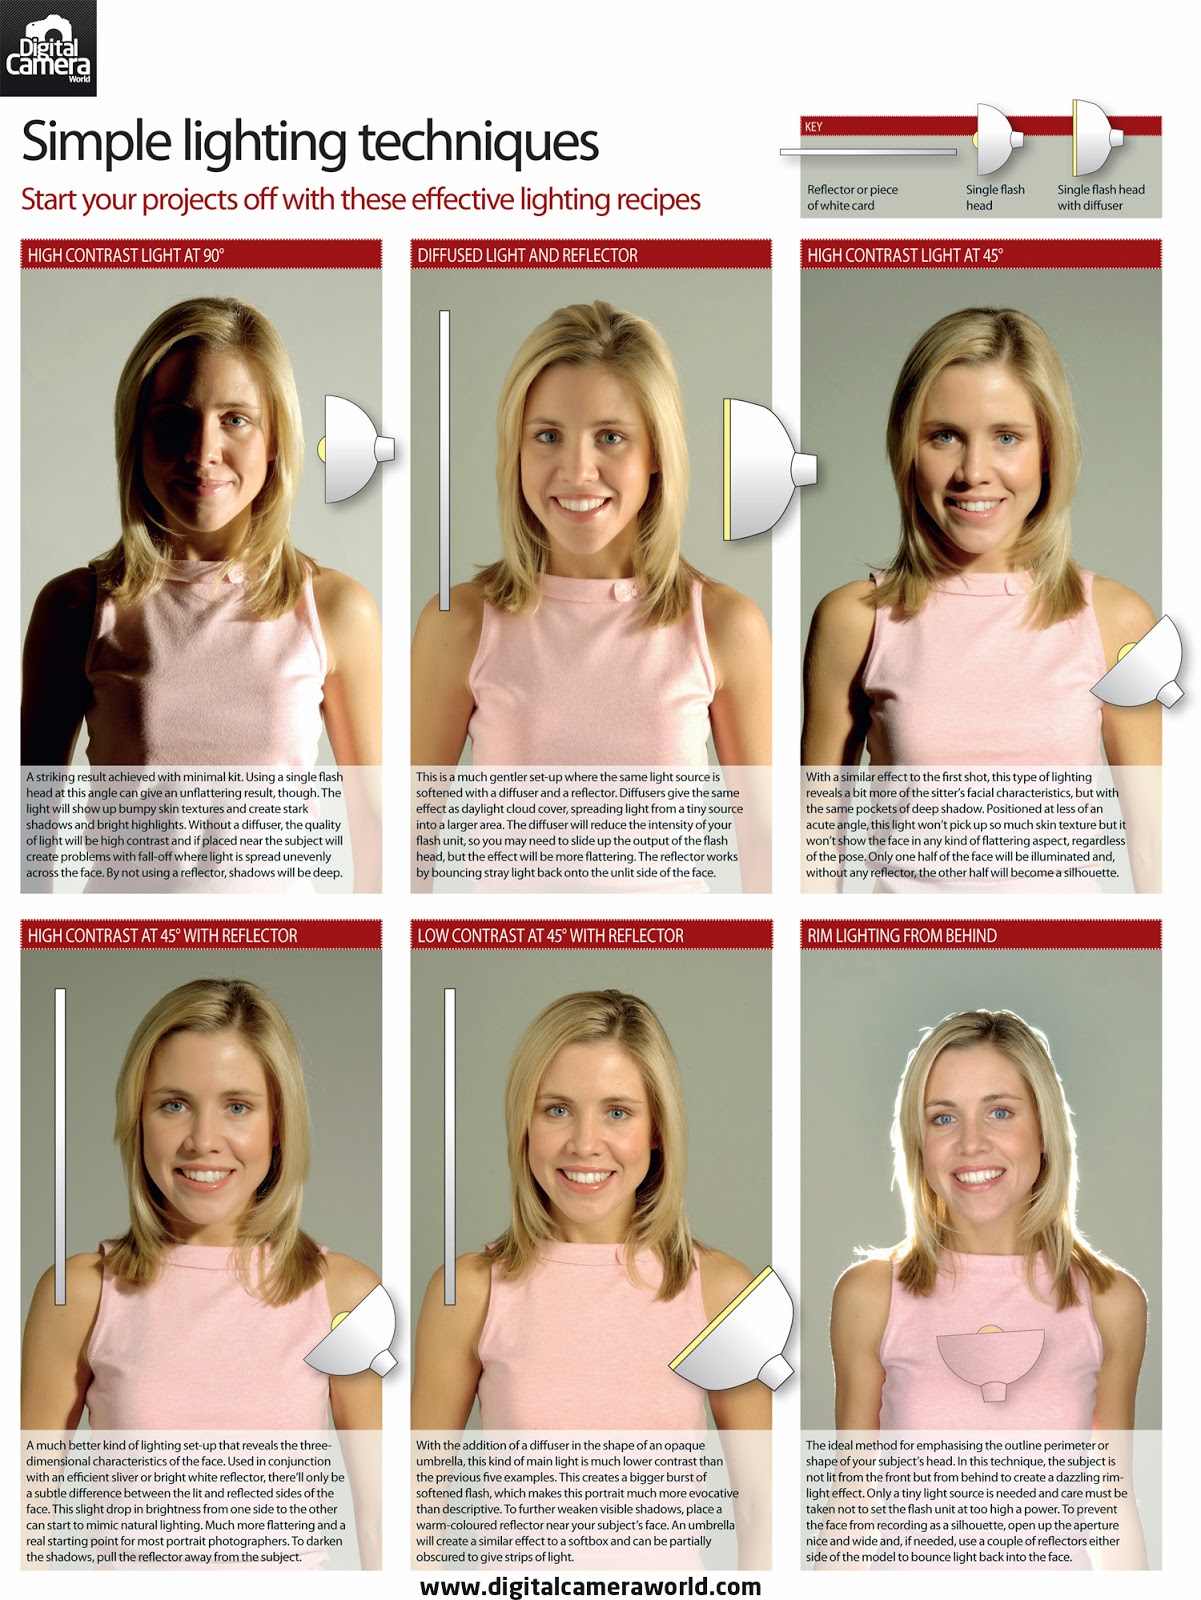
For lighting techniques checkout Simple Lighting Techniques at www.digitalcameraworld.com

Student Photographs using DIY photo booths


Thursday, January 15, 2015

Stress Free Handing in, Organizing, and Grading Digital Images

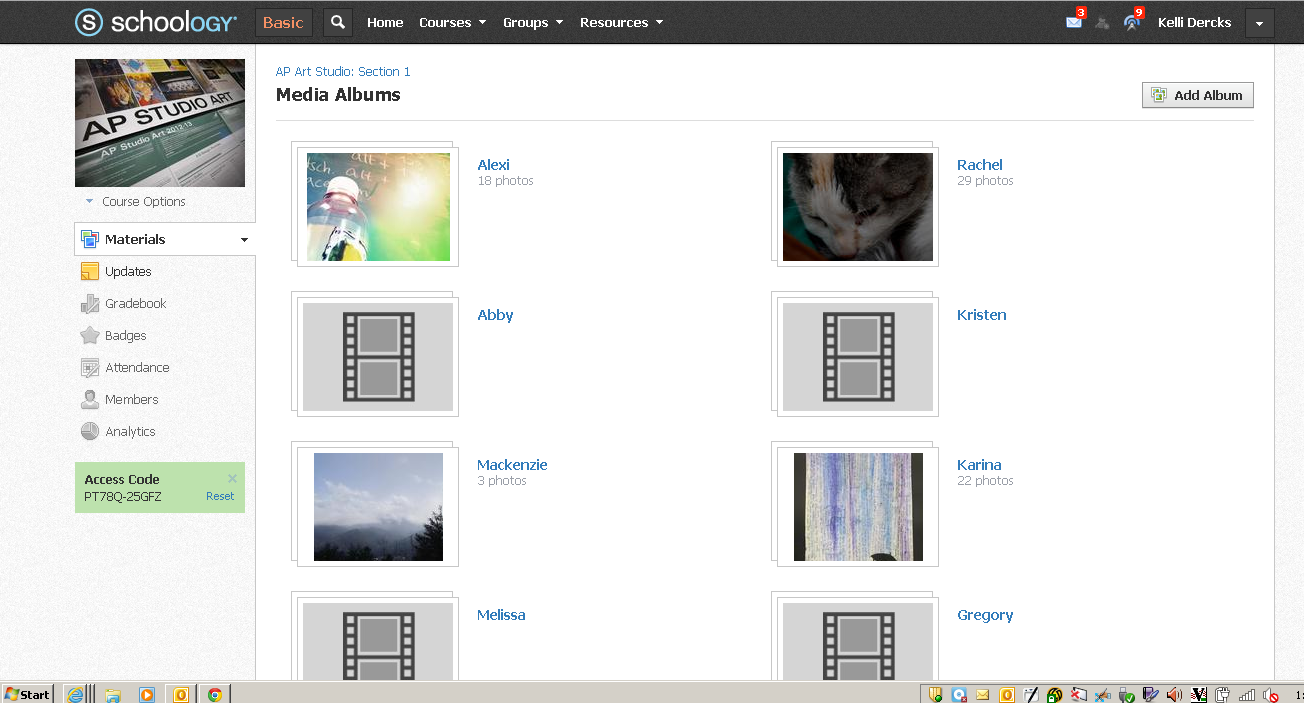
I know I have mentioned schoology.com as a great secure resource for your paperless artroom in the past. However, I think it warrants mentioning again. This site is awesome! Over the past two years I have found schoology.com to be a life saver for handing in, organizing, and grading digital photography images.  
Here are the basics of schoology albums so you can try it for yourself. 
*Just to be safe I used older albums for the images since the students have graduated and the codes have been disabled.
I create courses for my classes.  

Within each course I create an album for each student within the course.  The course has an access code that allows students to join. Once the students have logged in they find their albums and upload their photographs.  
As the students upload their photography a date appears at the bottom to let me know if it when it was posted. This feature eliminates "But I turned it in on time, really!" 

I have the students write the name of the project in the caption so it shows up with the photo in their album.

I love having access to my schoology.com account from anywhere. I can grade over weekend or in the evenings easily.  The students love the fact that they can hand in their photography outside of the school day too.
And yes...there is an app for that too  
The students can only see the albums from their class.  I have them critique each others work by adding comments. 

 schoology.com has made handing in photos and grading stress free! I could go on and on but my lunch is almost over, so time to go! There are many more great features to this site...a discussion for another day. Checkout schoology.com for yourself.


Tuesday, May 13, 2014

Savannah L's AP Art Studio


I have always had an obsession with putting my thoughts down into an art journal. My concentration focuses on my journey through journal pages I have made throughout the year. It is a reflection of my year as a whole through my personal journal and photography. I started with the idea of a blossoming young love and continued through the representation of that relationship. Which then leads through the ups and downs every person feels when they are experiencing that tremendous first love.

My idea in my pictures was to showcase and emphasize the feeling from the journal page. When you look at the photo and the journal separately, there is no real uniformity, it doesn’t make sense. Layer them together and you can honestly see what the intent is. It’s not a picture you’re looking at, it’s a feeling. My intent is for the viewer to feel what I felt or sympathize with my emotions. Image twelve displays this, the girl, isolated and lonely underneath a journal page about sadness and how serene it is. Each page I have made reflected all of the emotional challenges I have faced through the year. Such as image six, the theme of freedom and flying away shows just how I felt stuck and wanted to be free. Followed by image seven which has that air of acceptance and knowing that while you may not be the happiest you’ve ever been right now, you know you are free. My emotional rollercoaster through the year in a few photos doesn’t completely show everything I went through, but reflects it best.


My Amazing AP Art Studio Students

It's that time of year again. Over the next few days my amazing AP Art Studio students will each take a turn at posting their favorite pictures and explaining some of their work from their AP Art Studio 2013-14 entries. They have each worked hard to develop their Breadth (12 works), Concentration(12 works)with a short essay, and Quality (5 works)for their AP Art Studio Portfolio Exam. Check back each day and Enjoy!

Friday, January 18, 2013

Schoology-paperless artroom here we come!


I found a great online site for secure student group management  www.schoology.com . I looked at it over the summer, but have not had a chance to set up classes and groups till recently.  As I've mentioned before our district uses Moodle. I'm not overly impressed with the user friendliness and overall appearance of Moodle.  Apparently others feel the same way, because as a district we are starting to look at other options that might be out there...yeh!  The www.schoology.com site is far more user friendly and is set up similar to facebook so the students have no trouble navigating through it. You can link it to your Moodle site too if you want.  As a district with student email account difficulties the, to say the least, an invite code rather than email option is wonderful.  I can just give them a preset code and they can log in to their course or group.  There are separate codes for each section/group and you can change them as needed and/or remove students that you don't want in that group or section.  If you do have reliable student email accounts they can register with them as well. www.schoology.com has a gallery(albums) you can set up for students, which I love for online critiques!.  Also included are discussions, attendance, tests, links, apps, calendar of events, and the list goes on.  Oh, and did I mention it's FREE! I think I found a good fit for my students and I. I'll let you know how things go.


Give it a try if you haven't and let me know how it goes.  If you are using it or have in the past let me know what you think too.    www.schoology.com

Thursday, June 7, 2012

Student Teacher-Guest Blog

I had the most wonderful semester with my student teacher-Laura. Whenever you have a student teacher come into your classroom it can be a bit unsettling to give up those classroom reins to someone else.  Well, this time there was no reason for worry!  Laura did a phenomenol job. She was dynamic in the classroom, organized (more than me most of the time), and just an all around great addition to our program. She ROCKS!!!!  So, that being said, I'd like to give Laura an opportunity to share with you one of her many success stories while student teaching with me here at BDHS.....

My time at BDHS included teaching Introductory Drawing and Painting, Introductory Fibers, and Beyond & Advanced Digital Photography.  Going in to the placement, I was confident that I could teach drawing, painting, and fibers, as these were all strengths of mine in my coursework and personal artwork.  My confidence was a bit wobbly, shall we say, as I prepared to teach digital photography.  Fortunately, I had recently taken a Digital Art class to update my Photoshop knowledge (hadn’t touched it in over a decade – eek!) and borrowed a quality digital camera to refine my photography skills.  Teaching this class turned out to be a great opportunity for me to grow as a teacher and artist. 
One particular project that was fun to see progress was a copyright-free photo contest for middle and high school students called Image Ideas.  The Ideas website is sponsored by the UW-Extension to “provide Wisconsin educators with teacher-reviewed, standards-aligned lessons, interactive tools, video, high-quality digital images, & other resources for use in curriculum development and classroom instruction.”   As I introduced this project to my students, I tried to impress upon them that they needed to do their homework and understand what their client – the Ideas website – wanted from them as photographers.   I required them to investigate the website to see what photos were already available and consider what types of subject matter teachers would be interested in using.

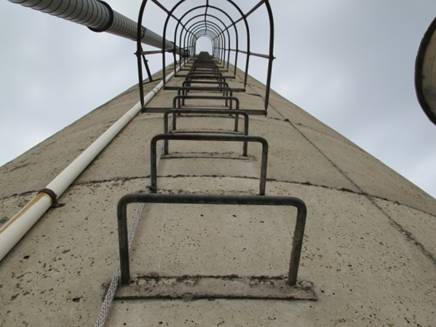
Silo by E. Dean                                              Contest Submission

Each student was to submit five photos with at least one having a Wisconsin-focused theme.  I encouraged them to revisit locations, refine images in Photoshop (without overdoing it), and revise their selections as they progressed toward the deadline.  This was a great opportunity for student growth as they attempted to take and select photographs that would not only be high quality, but highly useful for their client as well.  After we dropped the envelope of CDs in the mail, they eagerly awaited the results.  I think I got questions daily for at least a week! 

Columbus Restaurant by T. Simon              Contest Submission

The ImageIde@s team would be awarding only two firsts and two seconds in the high school category, so we knew the competition would be intense.  I was thrilled to open the webpage of contest results to find that we had a second place winner!  It was exciting to share with the class that Emily Gibson’s photo of jellyfish at the Shedd Aquarium had earned her a new iPod Nano.  It was great to see the smile on her face as this quiet, talented student got a round of applause from her classmates.


Jellies by E. Gibson                                                                                                   2nd Place Winner


This was one of many successful projects and satisfying moments this semester.  I thoroughly enjoyed teaching at BDHS and am amazed at what our students can accomplish.  I could not have asked for a better experience in student teaching!


Wednesday, May 30, 2012

Nick's AP Studio Art Blog


At the beginning of the year, I experimented with other mediums like drawing and layering. Although I had some mild successes with my experimentation, at the end of the year I chose to come back to photography. After being inspired by various street and candid photographers I took my camera and went out to Madison and downtown Beaver Dam to capture the urban scenes that dot the country. My breadth was a collection of random street scenes that played with different geometries and positioning. My quality showed off my special attention to color in a photo. Finally, my concentration was about the geometry of urban scenes. I showcased the different lines and textures that work collectively to build the marvel that is the American city. Together my AP portfolio works as a grandiose collective of different patterns and themes, to magnificently pay homage to the American urban scene. Here is a snippet of my AP concentration write-up:

The geometry of urban landscapes is all around us, but the inhabitants of these cities take the awe-inspiring lines and shapes for granted. I took it upon myself to document the art of urban biomes with my camera. The lost treasure of the American city is the alleyways. These rustic lanes are overwhelmed with metropolitan detail work that uses parallel and perpendicular lines to give the city motion. The vivid oranges and browns of rust on the iron metalwork make brilliant contrast with the faded colors of the backsides of antique domiciles. Powers of metropolitan landscapes come through in the repetition of simple patterns that create ominous cityscapes. The delicate angles and busy structures move me to more simple scenes. Textures of the omnipresent walls and walkways become the main attraction against the monochromatic backgrounds, outlining the elegance of these urban mystiques...

I'm hoping to pursue photography as a hobby in the future. I find taking pictures very enjoyable and I believe I have a good eye. Though I am not going to pursue a career in art, I am glad that I had the opportunity to take AP Art Studio, because It has definitely helped me learn and grow as a young artist.