With school budgets decreasing daily and art curriculum expanding to incorporate more of the media arts we find ourselves in a constant budgeting dilemma. I question every purchase..."Do we really need it?...or can we get by with something else?" Teaching digital photography can be taxing on the expense account of an Art Department. For those of you who teach digital photography or even take photos on a regular basis of student work will understand how incredibly important it is to understand basic lighting effects and have the opportunity to take your camera off of auto. So important that I couldn't justify ignoring or avoiding it altogether because of cost. With that being said, I am proud as pie when I find DIY ways to solve expensive equipment needs. With the help of
Pinterest, informative websites, and creative students I've developed an inexpensive yet effective way for students to experience the indoor photo booth shoot.
For an indoor photo booth shoot you need a backdrop, lighting, reflectors, a tripod, camera, something to defuse the light and a subject.
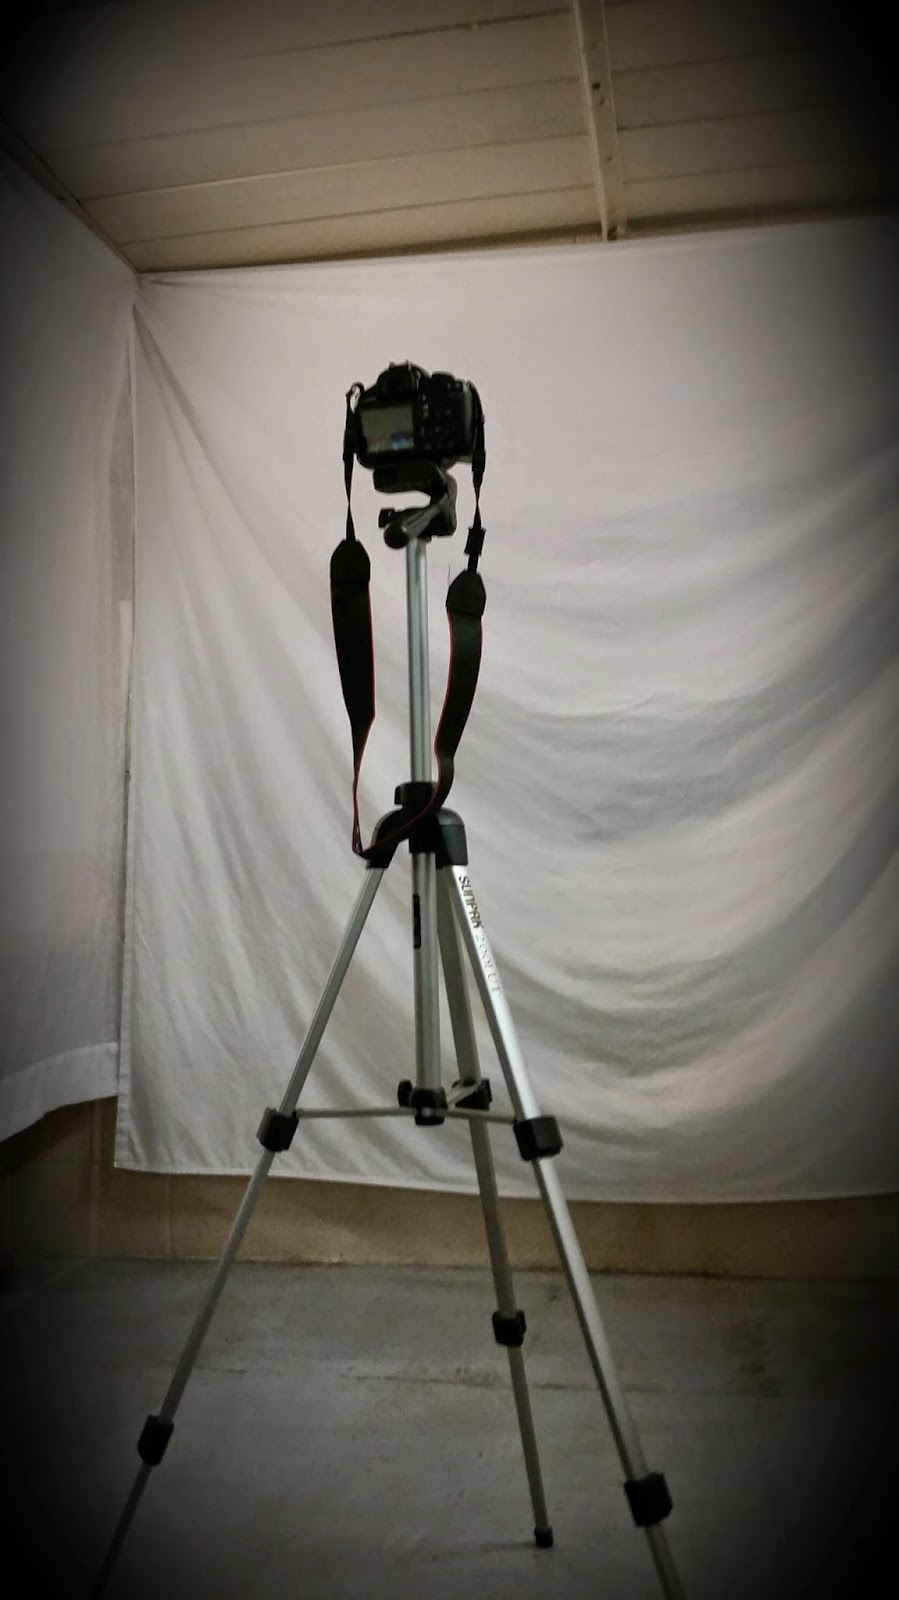 |
| I spend the money on a nicer camera/tripod so the students can control the settings and understand how to use the manual settings to capture just the right effect. I hang the backdrop up with bulldog clips, vice clamps, and/or velcro depending on the area. |
 |
| Inexpensive clamp lights work for basic lighting. |
 |
| Cardboard covered with foil works for reflectors |
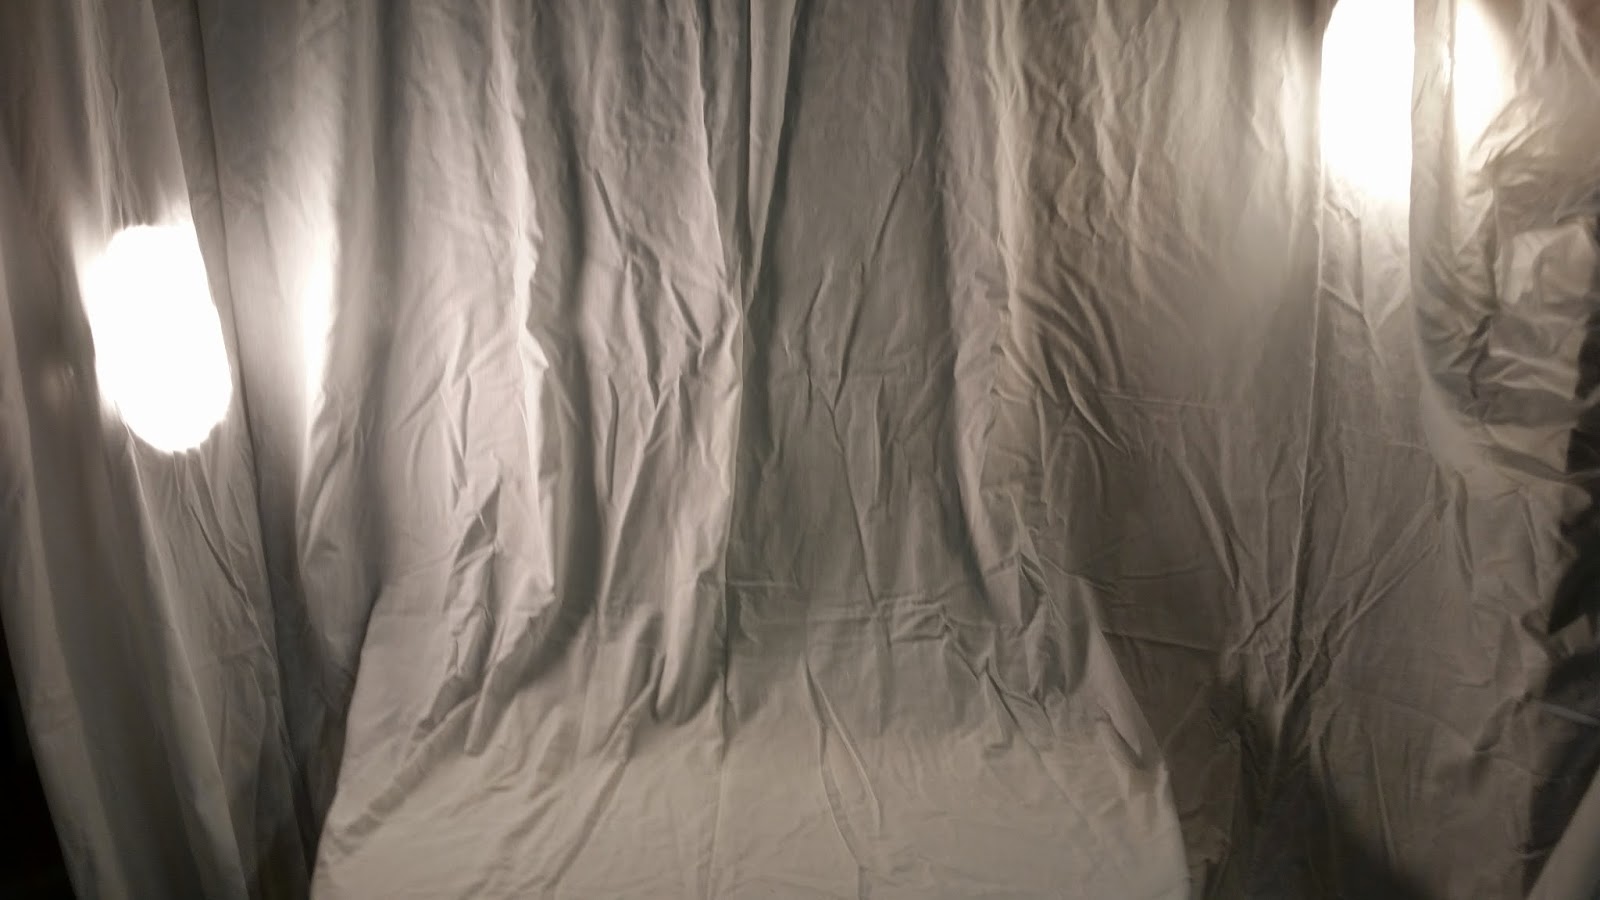 |
| Sheets, curtains, or an inexpensive cotton fabric are great for back drops. Place the lights on either side and/or above behind the fabric to defuse the harsh light. You can also place a small piece of fabric over the light itself to defuse the light. Just be careful it might get hot after a little while. |
 |
| A subject to photograph is usually pretty easy to find. |
You can also create a smaller photo booth for objects or art projects you wish to photograph. We have created box type photo booths out of foam core board and tissue paper or fabric.
Even a cardboard box painted white with sections cut out of the sides and top covered with fabric works great. Here is a great post on DIY Photo Box on Ninth & Bird with directions that are easy to understand.
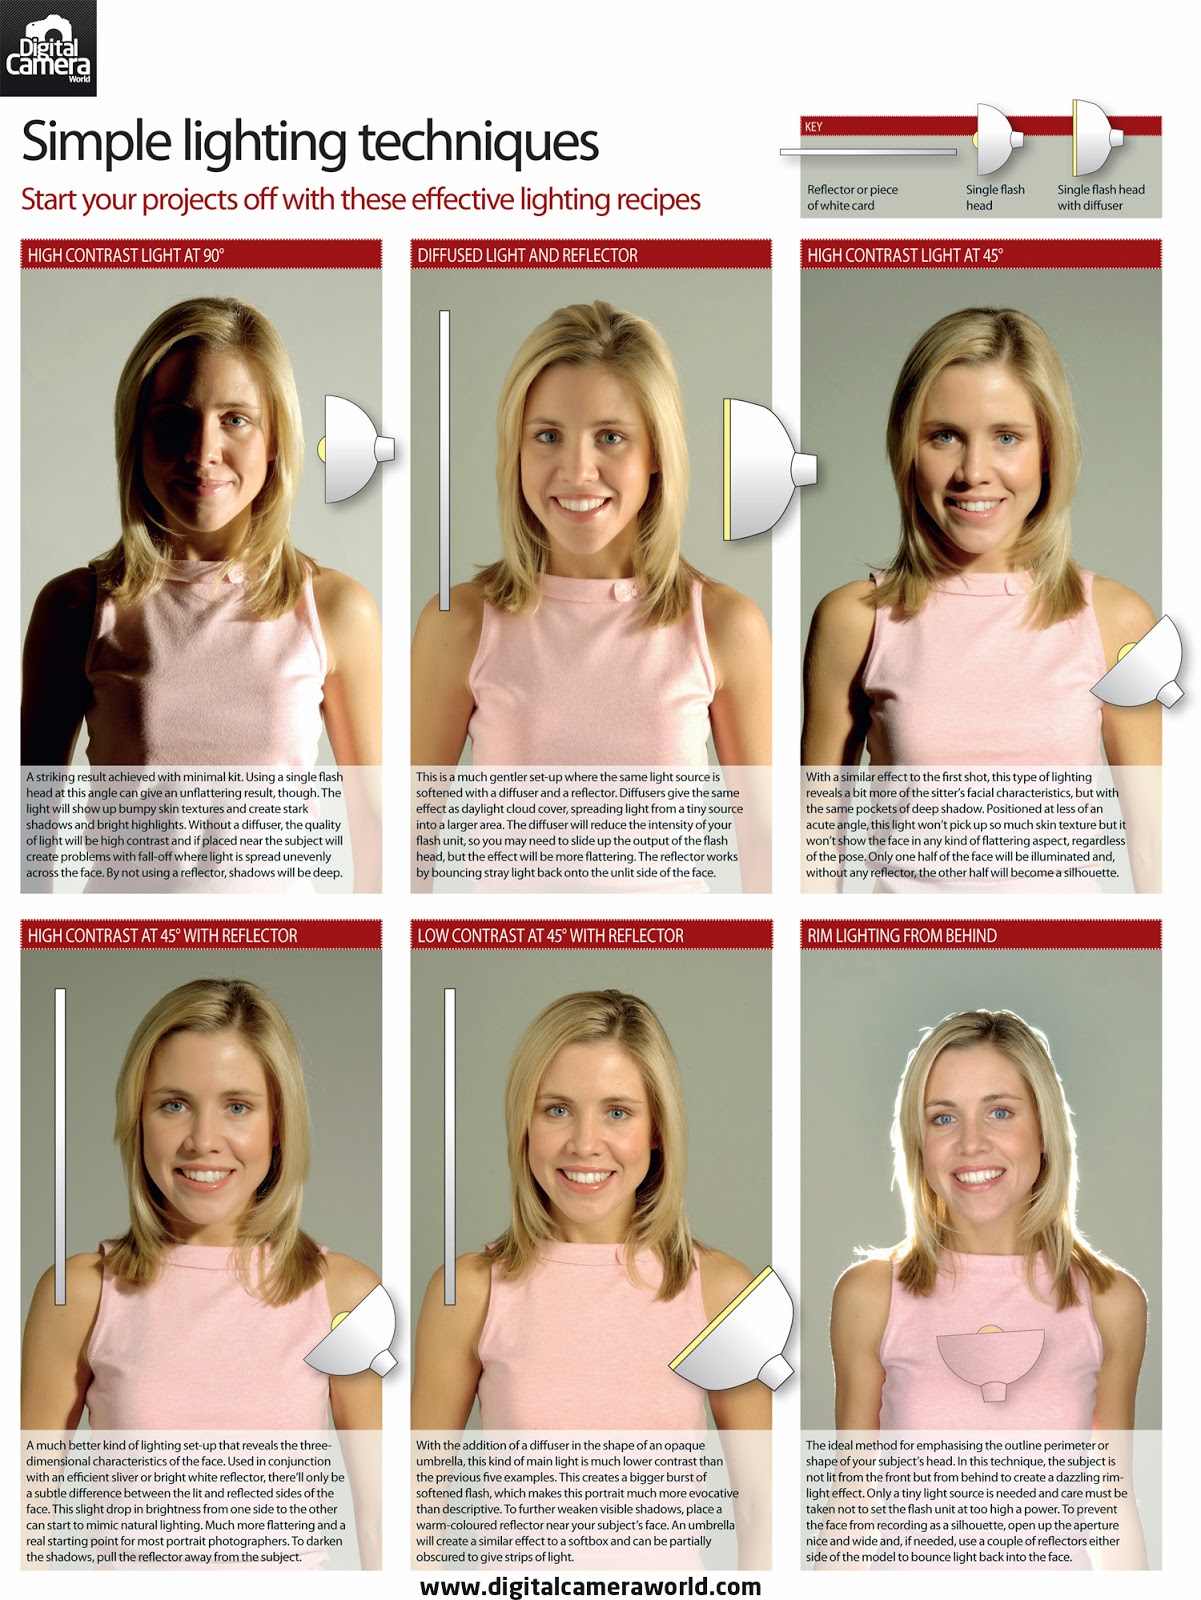 |
For lighting techniques checkout Simple Lighting Techniques at www.digitalcameraworld.com
Student Photographs using DIY photo booths
|


No comments:
Post a Comment